How to Install an M.2 NVMe™ SSD in a PC Laptop

Boost Laptop Efficiency for a More Productive Workflow

Upgrading a Windows® laptop to a Sandisk M.2 NVMe SSD expands capacity, streamlines workflow, and increases performance. Follow this guide to upgrade your laptops' internal M.2 SSD.

Materials Needed

Recommended Software

Medium

Difficulty

45-90 Minutes

Time

Why Upgrade Your Laptop to an M.2 SSD

Unleash Speed

M.2 SSDs, especially with NVMe, offer faster read and write speeds compared to SATA SSDs or HDDs. Achieve faster boot times, high-speed file transfers, and reduced lag running programs and applications with an M.2 SSD.

Maximize Efficiency

With no moving parts (unlike HDDs), M.2 SSDs are completely silent and less prone to mechanical failure. They consume less power than traditional hard drives, which helps to extend battery life and reduce heat generation.

Embrace Simplicity

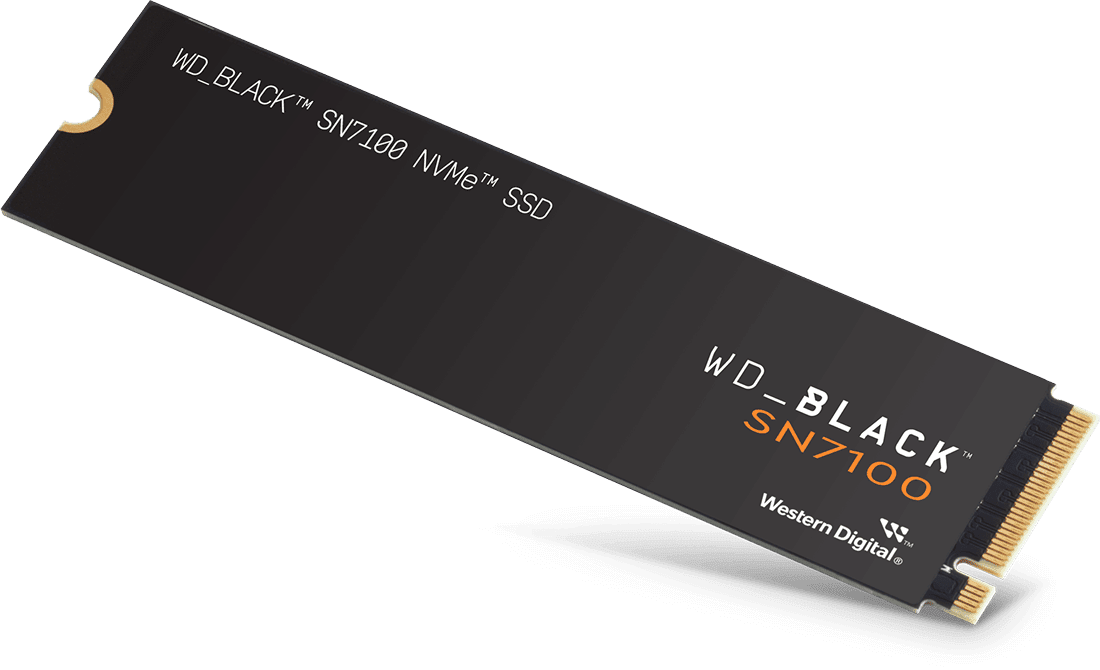
Small and thin, M.2 SSDs are ideal for laptops, especially ultrabooks or slim models with limited internal space. They also require no cables and connect directly to the motherboard, meaning no more SATA cables and a cleaner installation.

Step-by-Step Guide to Upgrade Your Laptop Internal M.2 SSD

Follow along below or watch the video.

Before You Begin

Check SSD Compatibility with Your Laptop

If you're not sure, go to Sandisk Support to understand what SSD options are available to you.

Back Up Your Data

It's important to back up your data before upgrading your laptop SSD. You can use a Sandisk external SSD to create a backup of your data.

Download the Recommended Software

The recommended software will help streamline the SSD upgrade process.

Determine the Number
of M.2 Slots

Have a single M.2 slot?
Continue to Path A.

Have double M.2 slots?
Continue to Path B.

Path A: Steps for Upgrading Your Laptop SSD with a Single M.2 Slot

STEP 1

Clone your existing drive

  • Plug your new M.2 SSD into the external M.2 NVMe enclosure.
  • Connect it to your laptop via USB.
  • Use Acronis True Image for Sandisk to create a copy of your current SSD drive.

STEP 2

Power down your laptop

  • Shut down your laptop.
  • Unplug the power adapter and any other connected cables.
  • Remove the battery if it is detachable.

STEP 3

Open laptop case

  • Use the crosshead screwdriver to remove the screws from the bottom of the laptop.
  • Carefully open the laptop case. You may need to pry it open
gently with a plastic tool.

Before touching anything inside your laptop, touch something that is bare metal to remove any static electricity from your body.

STEP 4

Locate the M.2 slot

  • Identify the M.2 slot on your laptop’s motherboard. This slot is usually located under a metal shield or near the RAM slots.
  • Unscrew your old SSD with your crosshead screwdriver and remove it.

STEP 5

Install a new Sandisk M.2 SSD

  • Insert the M.2 SSD at a slight angle into the M.2 slot.
  • Ensure the notches on the SSD align with the keys in the slot.
  • Press the SSD down and secure it with the screw.

STEP 6

Replace laptop case

  • Close the laptop case/panel.
  • Reattach the battery (if it was removed).
  • Screw the bottom of the laptop back in place.
  • Reconnect your power cable.

STEP 7

Turn on laptop and confirm installation

  • Power on the laptop.
  • Enter the BIOS/UEFI settings and ensure the M.2 SSD is 
recognized as the boot drive.
  • Boot into your operating system and verify that the M.2 
SSD is functioning properly.
  • Use the Sandisk Dashboard app to ensure your laptop 
is running the latest SSD firmware, and update firmware
if needed.

You have now upgraded your PC laptop with an M.2 NVMe SSD from Sandisk.

For more helpful tips, visit: Sandisk.com/Support.

Path B: Steps for Upgrading Your Laptop SSD with Multiple M.2 Slots

STEP 1

Confirm performance differences between M.2 slots

  • Refer to manual for performance of primary and secondary M.2 slots.
  • Prepare to install new/larger capacity SSD into primary slot with highest potential bandwidth.

STEP 2

Power down your laptop

  • Shut down your laptop.
  • Unplug the power adapter and any other connected cables.
  • Remove the battery if it is detachable.

STEP 3

Open laptop case

  • Use the crosshead screwdriver to remove the screws from the bottom of the laptop.
  • Carefully open the laptop case. You may need to pry it open
gently with a plastic tool.

Before touching anything inside your laptop, touch something that is bare metal to remove any static electricity from your body.

STEP 4

Locate the M.2 slots

  • Identify the M.2 slot on your laptop’s motherboard. This slot is usually located under a metal shield or near the RAM slots.

STEP 5

Install a new Sandisk M.2 SSD

  • Insert the new M.2 SSD at a slight angle into the secondary M.2 slot.
  • Ensure the notches on the SSD align with the keys in the slot.
  • Press the SSD down and secure it with the screw.

STEP 6

Clone the existing SSD

  • Use the Acronis True Image for Sandisk software to create an exact copy of your currently installed boot drive onto the new Sandisk M.2 SSD plugged into the secondary slot.

STEP 7

Remove or replace the old SSD for secondary storage

  • Shut down your laptop.
  • Remove the old SSD you just cloned.
  • Move your new Sandisk M.2 SSD from the secondary slot into the primary slot and secure with the screw.
  • You can insert a secondary SSD into the open slot, whether it’s the old SSD you’ve just cloned, an additional M.2 SSD, or leave it empty.

STEP 8

Replace the laptop case

  • Close the laptop case/panel.
  • Reattach the battery (if it was removed).
  • Screw the bottom of the laptop back in place.
  • Reconnect your power cable.

STEP 9

Turn on laptop and confirm installation

  • Power on the laptop.
  • Enter the BIOS/UEFI settings and ensure the M.2 SSD is recognized as the boot drive.
  • Boot into your operating system and verify that the M.2 SSD is functioning properly.
  • Use the Sandisk Dashboard app to ensure your laptop is running the latest SSD firmware; update firmware if needed.

You have now upgraded your PC laptop with an M.2 NVMe SSD from Sandisk.

For more helpful tips, visit: Sandisk.com/Support.

Frequently Asked Questions

Use Acronis True Image for Sandisk software. For more information on how to download and use this software, learn more here.

Related Content

Disclosures

Sandisk and the Sandisk logo are registered trademarks or trademarks of Sandisk Corporation or its affiliates in the US and/or other countries. Western Digital is a registered trademark or trademark of Western Digital Corporation or its affiliates in the U.S. and/or other countries. Acronis and True Image are registered trademarks of Acronis International GmbH in the United States and other countries. The NVMe word mark is a trademark of NVM Express, Inc. All other marks are the property of their respective owners.

Product specifications subject to change without notice. Pictures shown may vary from actual products.
Karşılaştırın